What to Check Before Approving a Packaging Print Proof
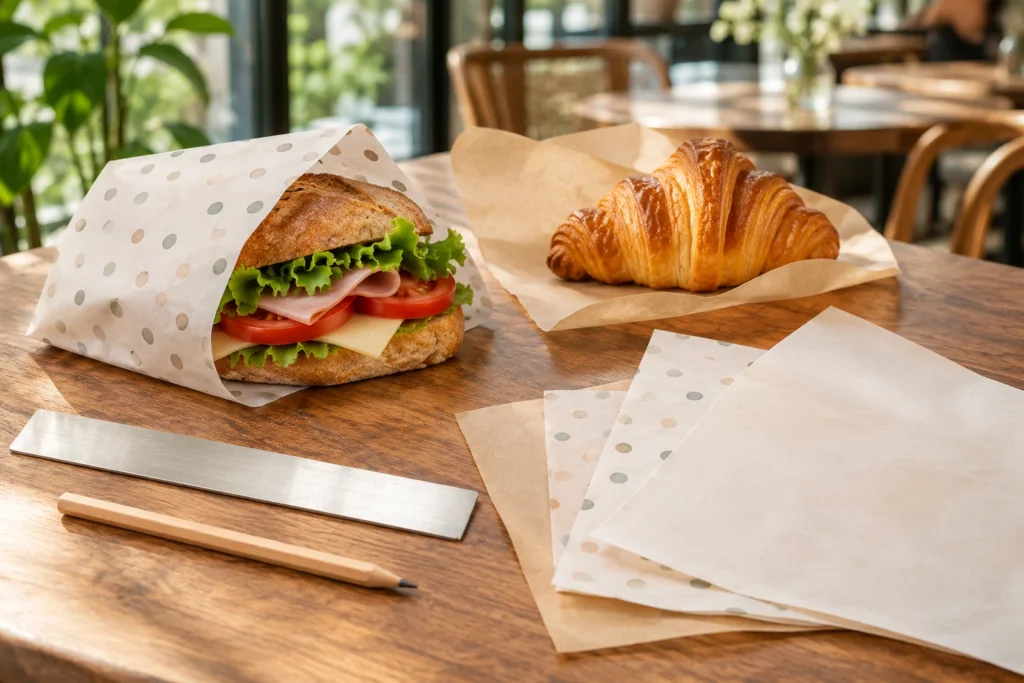
A packaging proof is your chance to catch errors before your artwork goes into production. For a restaurant, café, bakery, deli, or food truck, that means checking more than whether the logo looks good. The paper size, artwork spacing, spelling, and intended use all deserve a close look.
When ordering Custom Paper Printing, use this packaging print proof checklist to review the design systematically. Keep your order specifications beside the proof, assign one person to collect feedback, and approve only when the artwork and written details match what you need.
Start by confirming what the proof shows
A digital proof helps you review artwork and layout. It does not let you feel the paper, test a fold, or judge how a wrapped sandwich will handle a busy lunch service.
Before reviewing the design, identify which details appear on the proof and which sit in the order specifications. If material, dimensions, or printing details are missing, request written clarification. Do not assume an attractive preview confirms every part of the order.
Your packaging print proof checklist
1. Match the proof to the correct order
Check the product, material, sheet dimensions, quantity, and artwork version against your order. A bakery tissue sheet and a deli sandwich wrap may carry the same logo but serve different purposes.
- Confirm the paper type and intended food application.
- Check width and length, including the measurement units.
- Verify the quantity and any separate sizes or designs.
- Make sure the proof uses your latest approved artwork.
- Confirm which side or sides will be printed.
If you ordered several variations, review each individually. Approval of one size should not leave another size or design open to interpretation.
2. Read every word, number, and symbol
Read the proof slowly, even if the wording came from a familiar file. Check the business name, tagline, website address, social handle, punctuation, and capitalization. Look for dropped characters, substituted fonts, and unintended line breaks.
Have a second person read the copy without prompting them about what to expect. If the design includes a QR code, scan it from a printout at the intended size and confirm the destination. Ask about suitable code size and contrast before approving it.
3. Review logo quality at the intended size
A logo that looks crisp in a small email preview may reveal rough edges when enlarged. Zoom in to inspect curves, thin lines, small lettering, and fine details. Request clarification if the artwork looks blurry or pixelated.
Then review it at its intended physical size. Small details that look clear on a large screen can disappear when printed smaller. Ask whether delicate strokes or tightly spaced letters need adjustment for the selected paper and printing process.
4. Confirm colors without relying on your screen
Screen brightness, display settings, and surrounding light can change how colors appear. Paper color and surface can also affect the printed result. Treat a digital preview as a layout reference rather than an exact physical color sample.
Check that the requested ink colors and any supplied color references are recorded correctly. If color matching is especially important, ask what reference or sample options are available and what variation to expect. Avoid approving a color solely because it looks right on your phone.
5. Check repeat patterns, spacing, and orientation
For repeating Logo Printed Papers, inspect more than the center of the sheet. Follow the pattern across both directions and examine the edges. Confirm that spacing, logo size, and rotation create the look you intended.
Consider how staff will use the paper. A design may look balanced when flat but place the main logo under a sandwich or inside a fold. For basket liners, check what remains visible around the food. For wraps, consider which direction the customer will open the package.
6. Review trim, bleed, and safe placement
Ask which proof markings indicate the finished sheet edge, any bleed area, and the recommended safe area. Bleed is artwork extended beyond the intended cut edge; a safe area keeps important content farther inside it.
Do not treat every partially cropped logo as an error. A repeating pattern may intentionally continue beyond the sheet edge. However, an essential website address or central logo should have suitable clearance. Ask the printer to explain expected cutting and placement variation.
Check how the paper will work with your food
Appearance is one part of choosing packaging. Before approving artwork, confirm that the selected material suits the food, contact conditions, and handling you described. Mention grease, moisture, temperature, storage, and any planned reheating.
When comparing Custom Printed Papers, do not assume wax, greaseproof, parchment, butcher, and other papers are interchangeable. Ask for guidance on your application. Food-safe inks do not establish that every paper is suitable for every use.
A plain sheet cut to the proposed dimensions can help you test wrapping, folding, and basket coverage. It checks size and handling only; it does not confirm the ordered material’s performance. Likewise, avoid adding recycling, compostability, or other environmental claims unless you have support for the specific finished product.
Send clear revisions and approve one final version
Combine feedback into one numbered message. Use specific instructions such as “increase the logo width to two inches” or “remove the website from the repeat.” Comments like “make it pop” leave too much room for interpretation.
- Identify the proof version you reviewed.
- List each requested change separately.
- Request an updated proof after revisions.
- Recheck the full proof, including unchanged areas.
- Give explicit approval for the final version and matching specifications.
Save the approved proof and specifications together. Before approving, confirm the production schedule and shipping details, especially if you need packaging for an opening, event, or seasonal menu.
Frequently asked questions
Will the printed colors exactly match my digital proof?
A screen cannot guarantee an exact match to ink on paper. Confirm the written color specifications and ask about available ways to evaluate color if a close match is important to your business.
Should I print the proof before approving it?
A printout at actual size can help you assess readability, logo scale, and placement. Disable automatic page scaling. A desktop printout does not establish final ink color, paper feel, or production quality.
What if I find an error after approval?
Contact the printer immediately and identify the approved version and error. Whether a change remains possible depends on production status. Request written confirmation of any available correction and its effect on the schedule.
Put your proof review into practice
Printed Wax Papers offers a free digital proof, food-safe inks, and paper orders starting from 1,000 sheets. Production takes 7–10 business days after the proof stage, with free USA shipping taking 3–5 business days. Confirm approval and scheduling details for your order.
Have your paper type, dimensions, quantity, and logo ready. Request a free quote and use this checklist to review your proof before approving production.